
Start with the working surface, not a product list
A laptop stand changes where a screen, keyboard, ports, and cable weight land. Before comparing shapes, I chart a working surface around the controller, small keyboard, interface, monitor path, notebook, water, and the places my forearms naturally reach. Technical appearance is irrelevant; the plan must leave a reliable path between seeing the laptop and touching the controls that matter during a transition, edit, or take.
For a current market-oriented starting point, LeStallion’s guide to laptop stands for DJ and music production setups is useful as a list of common stand categories. I use a roundup as a prompt for questions, not as proof that a particular stand fits my desk, computer, controller, or posture. Specifications, compatibility, and prices require a current check from the relevant seller or maker.
My first sketch includes the laptop’s open depth and the stand’s feet, not just the visible tray. A compact controller can leave plenty of room until a rear support bar reaches its cable plugs. A keyboard can look clear until the stand angle puts a lower edge above its knobs. Measurements do not make the decision by themselves, but they prevent a deceptively simple purchase from becoming a chain of compromises.
Give the laptop a job in the signal path
A laptop can be the library, performance screen, recording host, instrument rack, or all of those at once. Each job changes what needs to remain visible and reachable. A DJ who cues tracks may value a glanceable screen with a clear line to a controller. A producer arranging takes may need room for a keyboard and interface while spending longer stretches looking upward. Naming the job stops a generic ‘ergonomic’ claim from standing in for a real workflow.
I separate essential information from merely available information. Transport state, tempo, record arm, routing warnings, and a session timer can be important; a second browser window may not be. When the important information is identified, the stand can be placed for that view rather than lifted as high as possible. Height without a reach plan often produces a pretty screen and an awkward desk.
The test is a short, reversible rehearsal. I open the applications I actually use, place an inert object at the proposed height, and move through a few normal gestures without playing a set or recording a client session. I watch for shoulder lift, blocked knobs, glare, and a cable that wants to pull the computer sideways.
Measure the footprint in three dimensions
Desk depth is only one measurement. I also note vertical clearance under the tray, distance from the rear edge, and the space needed to open the computer or turn a screen. Stands with wide front feet can occupy the same territory as a controller’s lower edge; tall rear frames can crowd monitor shelves or wall treatment. The useful drawing is a plan and a side view, even when each is only a few pencil lines.
The laptop’s center of mass moves when the lid opens and when a stiff cable is attached. I account for that reach behind the tray as well as the dimensions on a product listing. A raised device can become less stable if a hub, charging lead, or adapter hangs from one side. This is a placement question before it becomes a materials question.
I leave deliberate service space. Ports need a path for fingers, a cable needs a bend that is not under tension, and an occasional wipe-down needs access to the desk. A stand that technically fits but seals off the rear edge makes routine work harder than a slightly wider arrangement that can be adjusted calmly.
Treat stability as a system, not a label
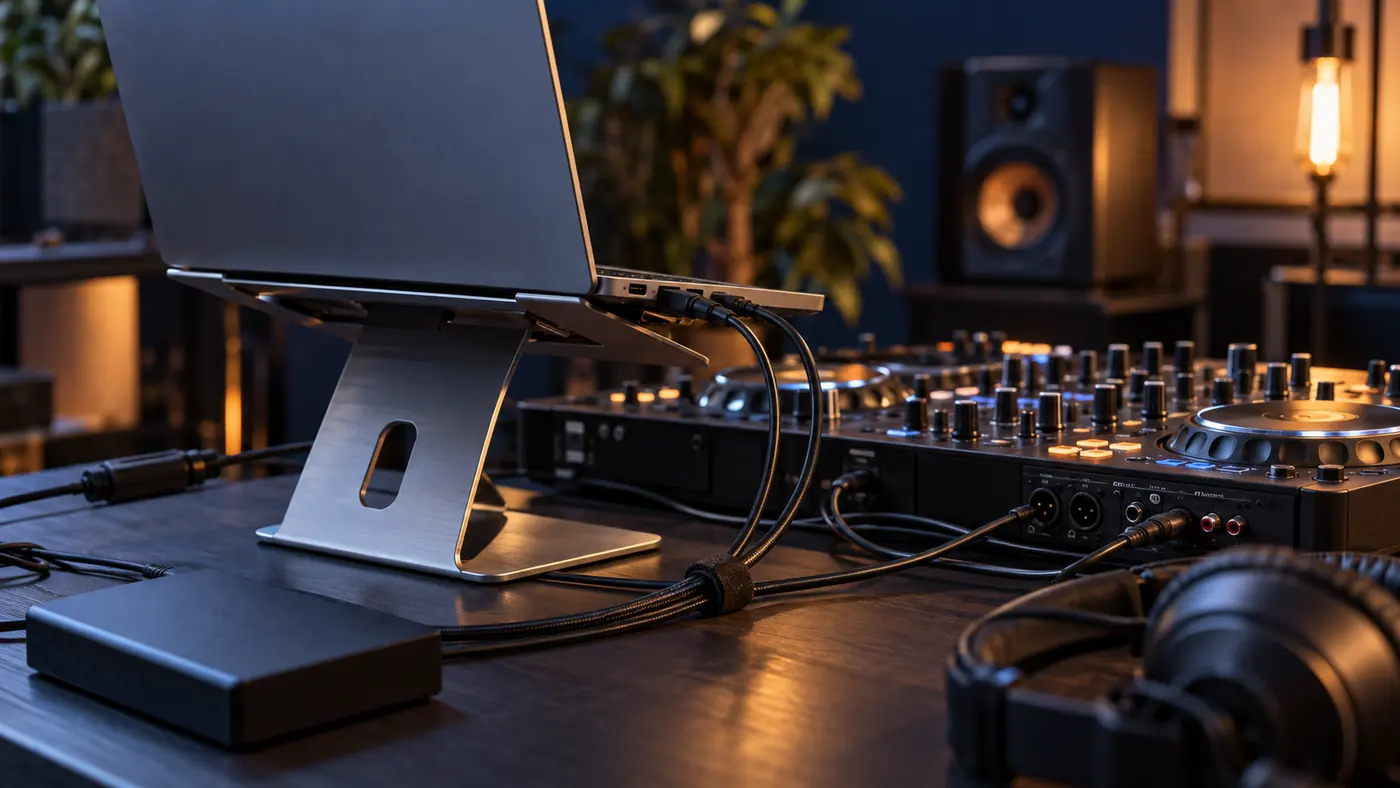
Stability comes from more than a stand’s advertised weight rating. Surface grip, foot spread, hinge friction, tray lip, laptop size, desk vibration, and cable pull all contribute. A stand may feel firm in a product photograph and behave differently on a slick veneer desk beside a controller whose buttons invite energetic use. I describe what can move the system before trusting a general claim such as sturdy or heavy-duty.
A quiet check is enough to expose obvious trouble. With the computer powered down or protected, I apply light, controlled fingertip pressure at the places I would normally touch: the desk near the controller, the laptop trackpad, and the cable bundle. I do not call this a drop or endurance test. The observation reveals rocking, sliding, sharp frame movement, or a hinge that changes angle too easily.
If a support needs a pad, clamp, or stop, I name that part of the installation instead of concealing it as an unmentioned correction. Accessories can improve a setup, but they change the footprint, ventilation, and removal routine. The final configuration should be repeatable by someone who was not present for the first adjustment.
Set a screen line while protecting hands
Raising a display can make a long editing session more comfortable, but the best height is bounded by the work below it. A screen that lands near eye height may push the laptop keyboard out of use, which is fine if a separate controller and keyboard are planned. It is less fine if performance depends on reaching the laptop keys or trackpad quickly. I decide which controls are primary before choosing an angle.
I look for a relaxed viewing line rather than a single prescribed measurement. Chair height, desk height, eyesight, and screen size all vary. I judge repeated head tipping, upward shoulder creep, and abrupt eye travel between a high screen and low controller. A modest lift can be more useful than the tallest setting.
Glare belongs in this pass too. A high, tilted screen can catch a window or ceiling fixture that was harmless at desk level. I check the room at the time it is usually used, then adjust orientation before adding gadgets or assuming a brighter display solves the problem.
Plan cable movement before the first session
Elevating a laptop changes every cable’s route. Audio, power, storage, MIDI, and network leads no longer rest at the same level, and a bundle can become a lever against a port. I separate cables by role and make the first bend generous. Each lead needs enough length to enter its socket while leaving the tray neutral, avoiding fader paths, and forming no loop that can catch a hand.
A small hub can simplify the visible side of a rig, but it also centralizes heat, power demand, and disconnection risk. I decide whether a hub belongs on the desk, under it, or beside the stand based on how often I need to change media or access ports. Hiding every lead is not the goal; a serviceable route is better than a neat-looking route that fails the next time a drive is swapped.
I label or color-code only when it reduces a real mistake. Physical separation between power and low-level audio can be sensible in a particular setup, but no visual rule guarantees silence. When a noise issue appears, I trace the actual path and consult the equipment documentation rather than crediting a stand for solving an electrical problem.

Keep airflow separate from wishful cooling claims
A raised laptop can uncover part of the underside, but it is not automatically a cooling system. Intake and exhaust locations differ across computers, room temperature matters, and a stand can block or redirect flow even when it looks open. I find the manufacturer’s current guidance for the exact machine and avoid treating a generic perforated tray as proof of safe thermal behavior.
The arrangement around the laptop matters as much as the tray. A monitor speaker, wall, stacked drive, or cloth cover can crowd an exhaust path. Long sessions can add heat from interfaces, chargers, lights, and people, so I leave a little circulation space and avoid storing soft materials against vents. These are ordinary housekeeping choices, not a claim to diagnose or manage hardware faults.
During a noncritical work session, I pay attention to warnings, fan behavior, and performance changes that the operating system makes visible. Persistent thermal messages belong with the computer maker’s guidance or qualified support. A stand can change placement; it cannot replace maintenance, firmware advice, or repair.
Use one comparison table and one decision rule
I compare setup approaches rather than pretend to rank every model. The table below names the question each approach is good at answering. It neither endorses an item nor replaces a current compatibility check. A simple fixed riser may be sensible for one repeated position, while an adjustable frame may be better when the desk changes between editing and performance.
Move sideways through the approach table to expose every decision column →
| Approach | Useful when | Check before committing |
|---|---|---|
| Fixed riser | One laptop and one repeatable sightline | Screen height, port clearance, and storage |
| Adjustable tray | Editing and performance use different angles | Hinge resistance and repeatable marks |
| Wide-base frame | Desk surface is stable and deep enough | Feet around controller controls and cables |
| Clamp-mounted arm | Desk edge and structure allow a safe mount | Clamp range, desk construction, and vibration |
| Travel folding stand | Setup must move between rooms or venues | Locking, packing protection, and cable strain |
| Dual-purpose shelf | Screen and small accessory need a fixed home | Airflow, load distribution, and reach |
My decision rule is deliberately small: choose the arrangement that preserves the important screen information, leaves primary controls clear, remains stable under normal touch, and can be cabled and reset without improvisation. If an option wins on only appearance or maximum height, it has not yet earned a place on the desk.
Run a calm rehearsal and record the result
Before a performance or a focused production block, I rehearse the placement with ordinary motions. I cue, browse, adjust a controller, reach for a headphone lead, open the laptop lid, and move the chair. I do not need to simulate a crowded venue or claim a formal test. The point is to reveal repeated friction before the desk is full of session-specific equipment.
The notes are short: stand setting, screen angle, front-edge distance, cable exit direction, and anything that must remain clear. A piece of removable tape or a small mark can preserve a preferred position while keeping the installation reversible. These records matter when a shared space is reset or a stand is folded away between uses.
I end with a decision checklist rather than a product verdict. A stand is part of a system with a desk, a computer, a body, an audio path, and a session routine. The sensible choice has tradeoffs I can explain and repeat; theatrical posture and a long specification list do not decide it.
Decision checklist
- The laptop’s open depth and stand feet fit the real desk.
- Primary controller and keyboard lanes stay clear.
- Screen information is visible without a forced posture.
- Ports and cables have a calm, reachable route.
- Documented air paths remain clear.
- The selected height and angle can be reset.
- Normal touch does not produce unwanted sliding or rocking.
- The arrangement has been rehearsed outside a critical session.
A final choice needs a clear justification through space, access, and repeatability. Studio-showroom appearance is unnecessary. The arrangement must let work continue when a track changes, a drive is connected, or the desk is reset for tomorrow.
Archive handoff
For chronological context, the immediately preceding release covers a different workspace question. Open that earlier archive entry without treating its subject as evidence for this laptop layout.